Overview
To merge documents together, they must share the same previous version in common.
This guide will walk you through merging documents in Version Story, step by step.
Step One: Add Versions
Start by adding to the project the two (2) or more versions you want to merge, and the previous version they share in common.
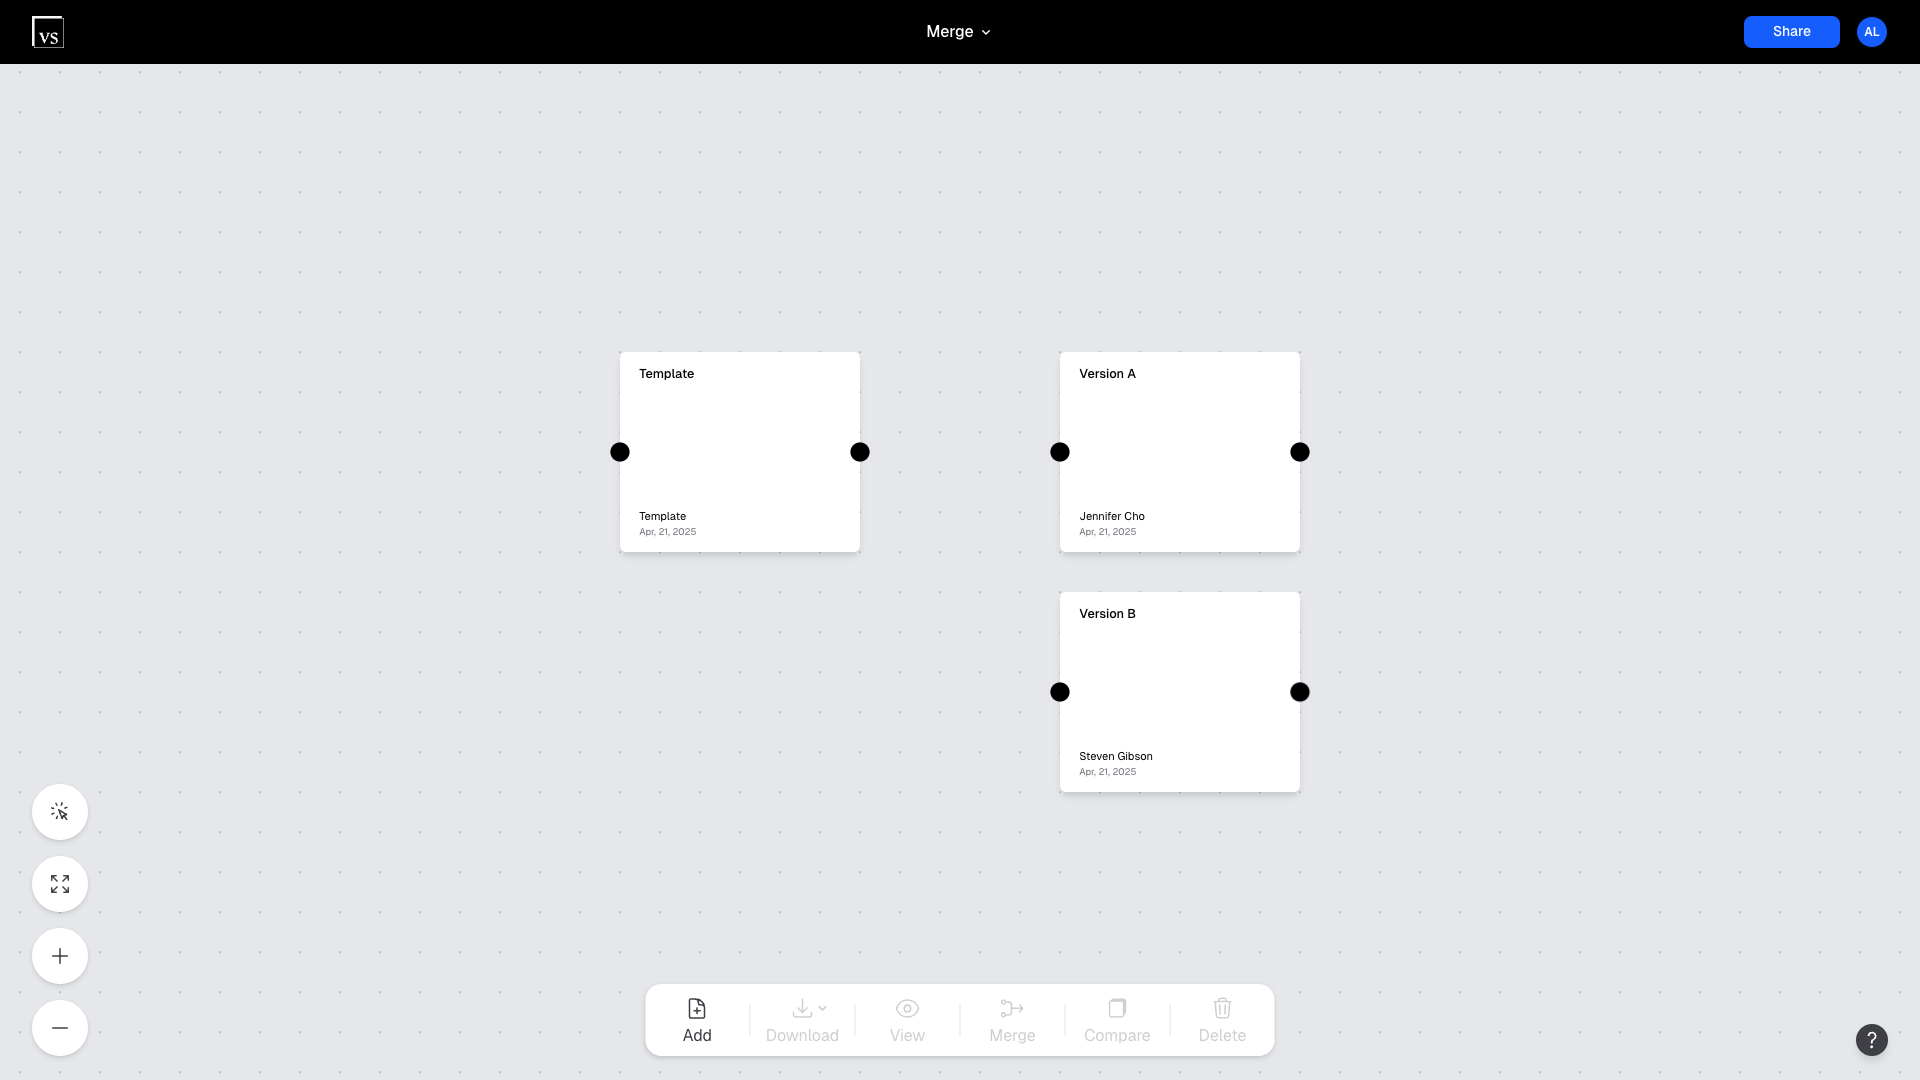
Connect the versions you want to merge to the same previous version.

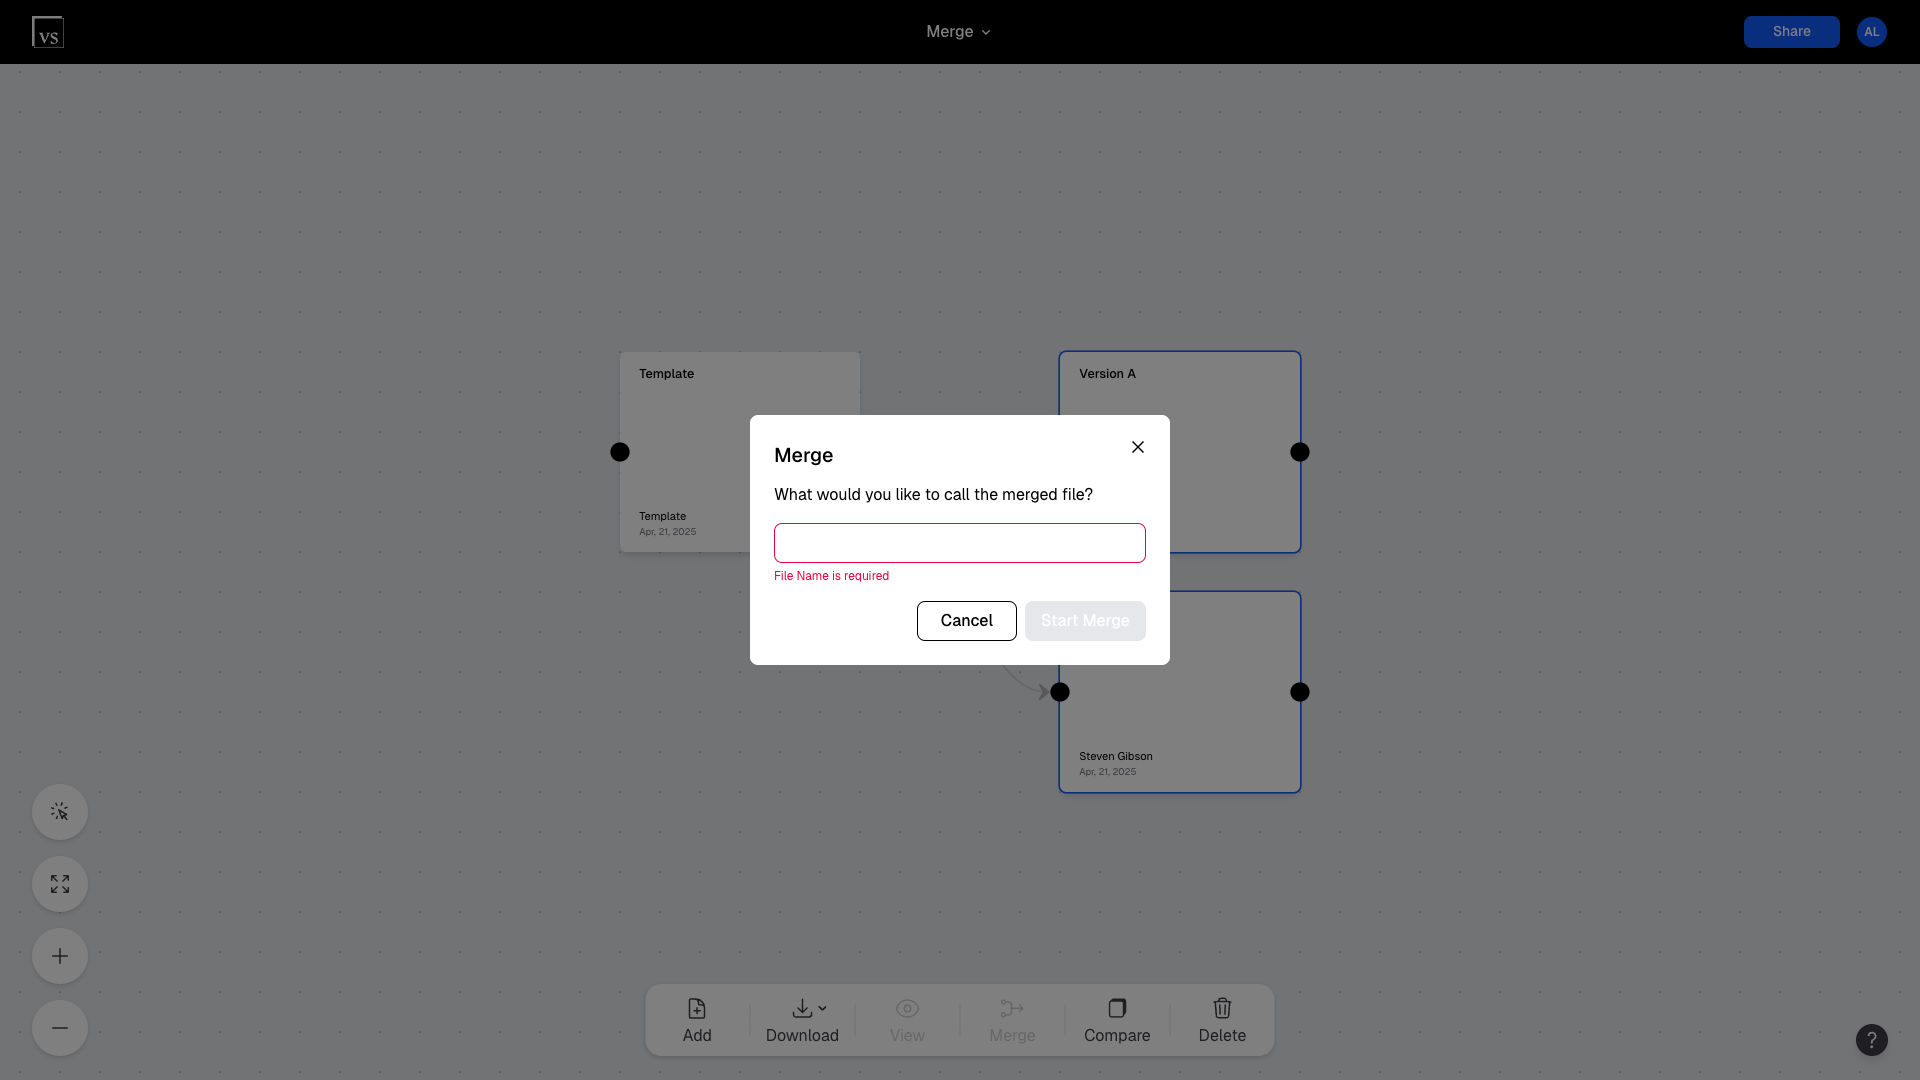
Step Two: Select Versions
On Windows: Control + click to select each of the versions you want to merge.
On Mac: Command + click to select each of the versions you want to merge.

Step Three: Start Merge
Click the Merge button in the bottom toolbar.
Name your merged version, and click "Start Merge".
Step Four: Open Merge
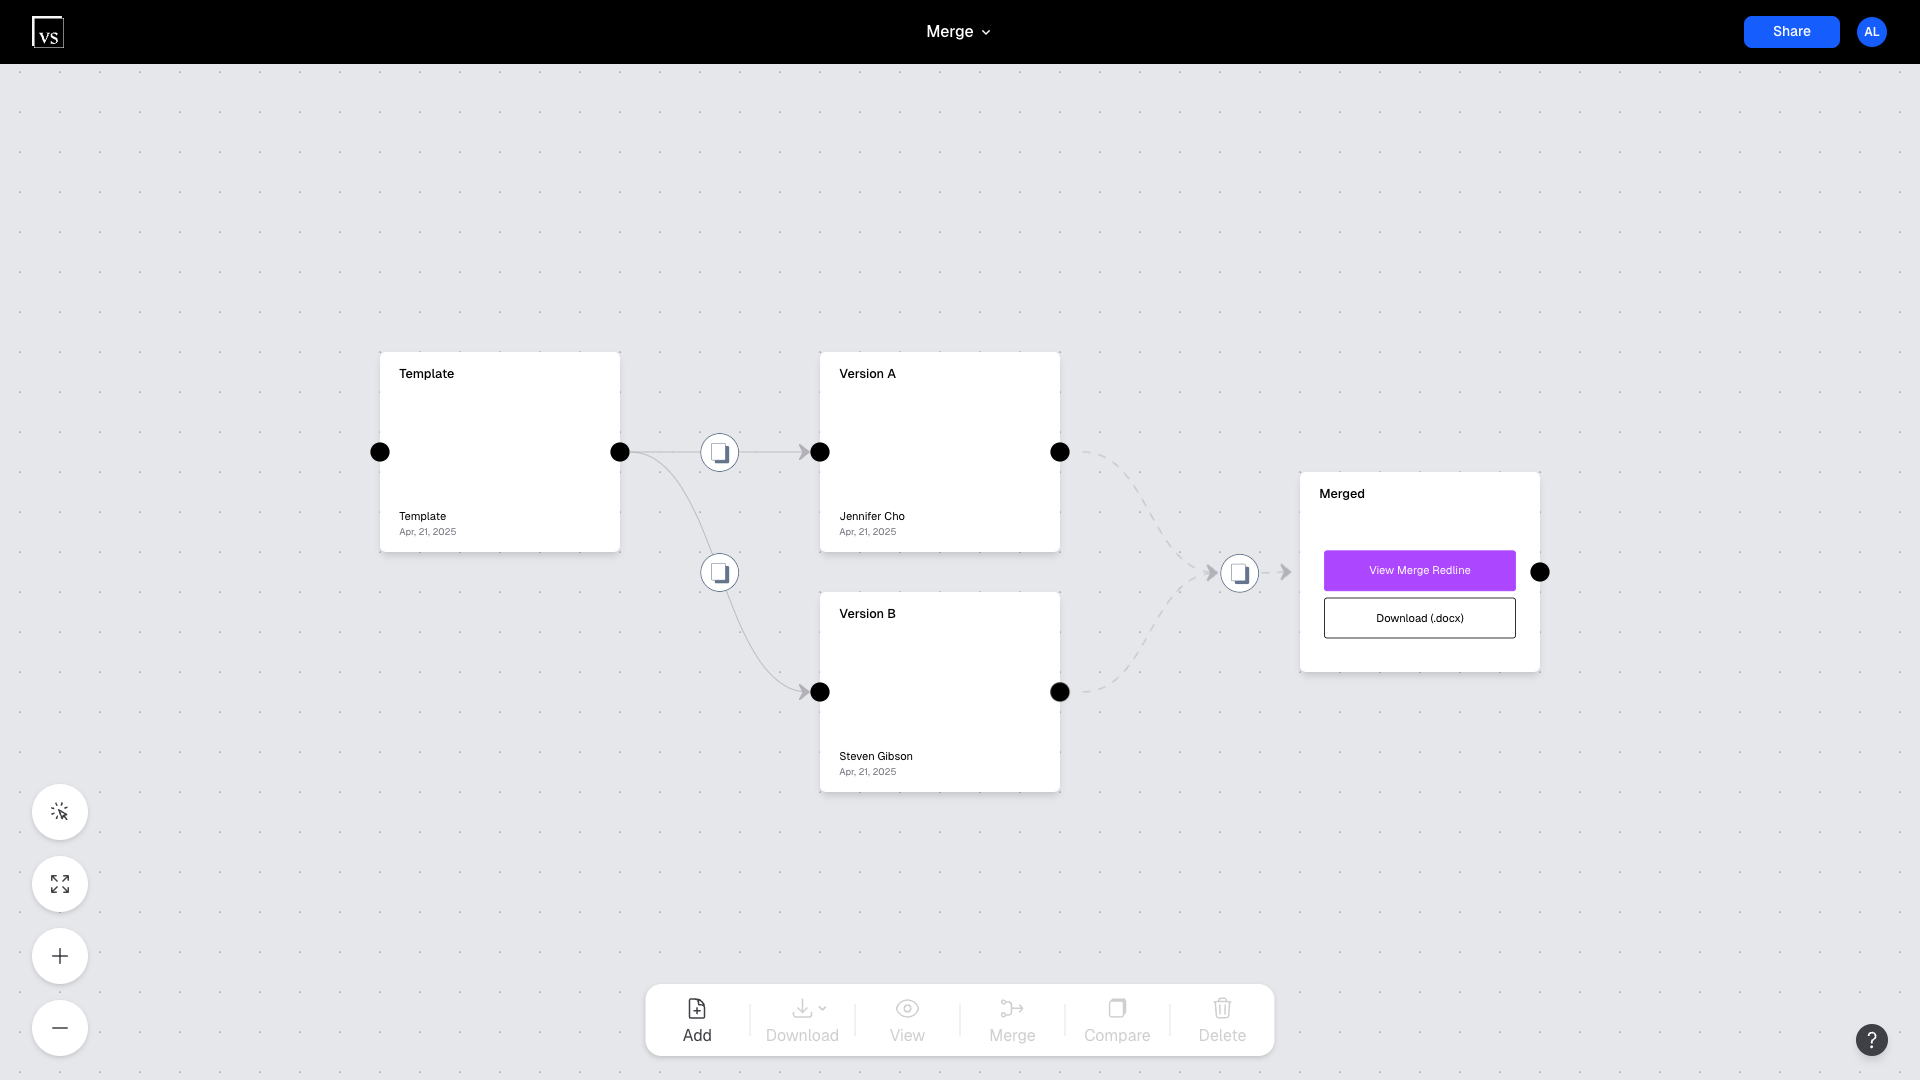
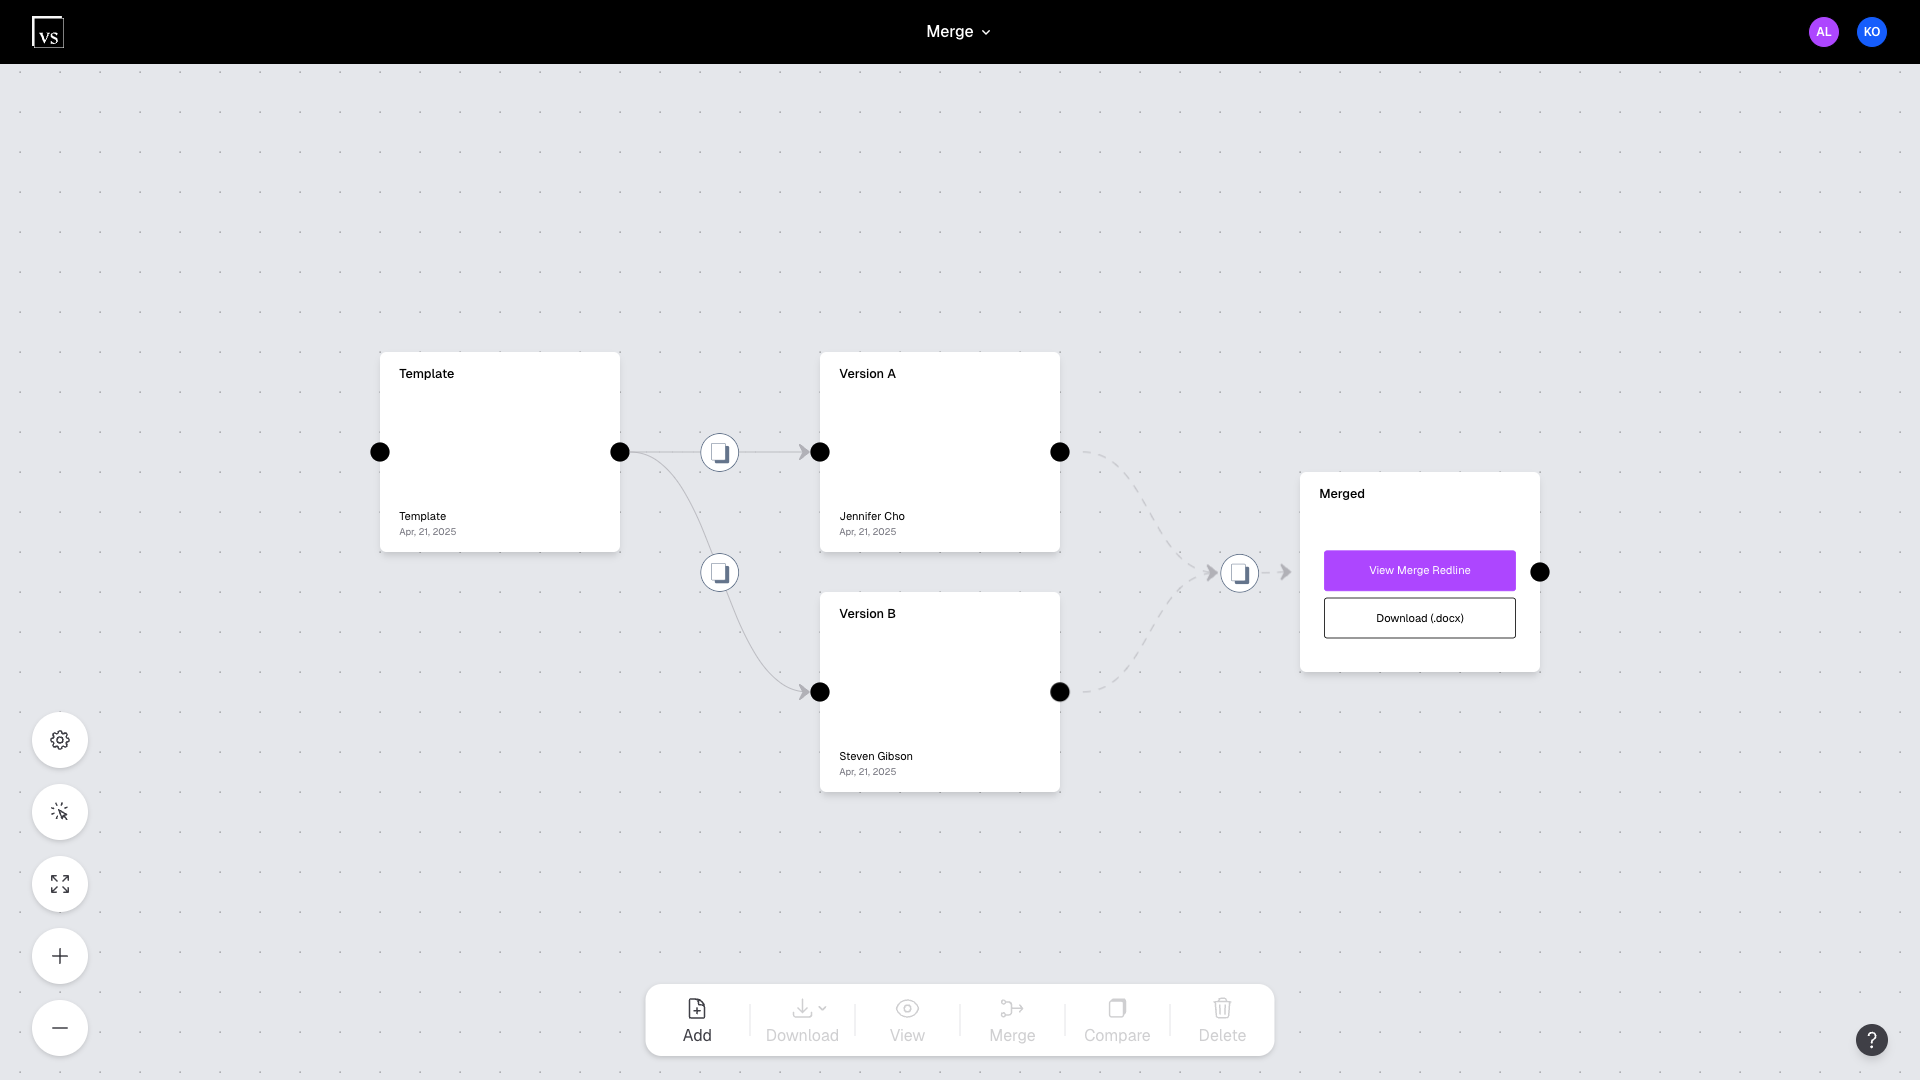
A new tile will appear on the project canvas, representing the merged version.
Click the View Merge Redline button on the file.
Step Five: Review and Export
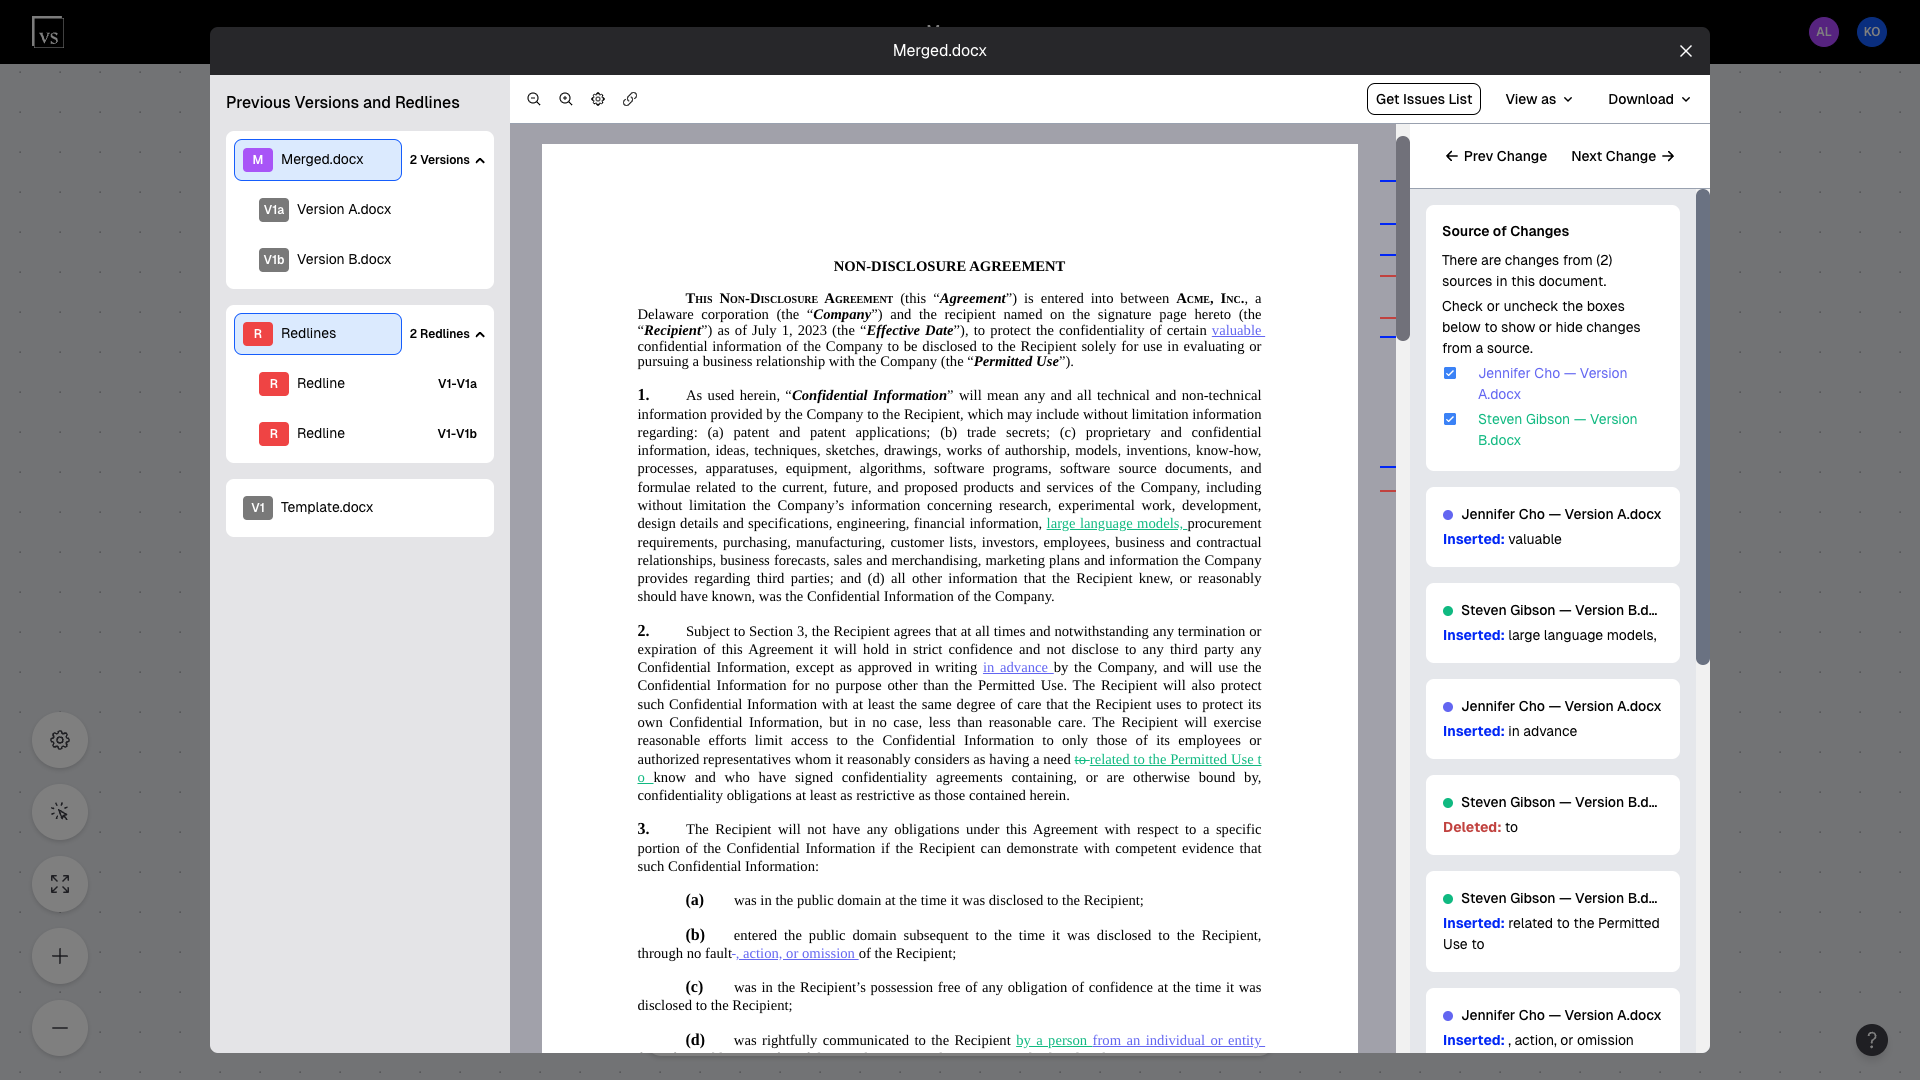
The merged version will appear in the document viewer. Changes from different authors will appear in a unique color.
Download
You can download the merged version as a Word (.docx) file with track changes.
Please note that when you open the downloaded file in Word, the colors used to represent the different sources will be different than what you see in Version Story. This is because the settings in Microsoft Word determine these colors, and are not controlled by the Version Story application.
Related Articles
Merge Conflicts
To learn about how Version Story handles conflicting changes in a merge, please read our article on Merge Conflicts:
Click here to learn about Merge Conflicts
Word Settings
The default settings in Microsoft Word will show all insertions in blue and all deletions in red. We have an article with instructions on how you can adjust the settings in Word to show changes from multiple authors in different colors for merge documents exported from Version Story.